Garden Anywhere This Season With the Help of Straw Bale Gardening

Milwaukee, WI (PRWEB) April 27, 2016 -- Straw bale gardening has been around for centuries, but thanks to Joel Karsten’s book “Straw Bale Gardens” it has gained new popularity. “It’s a great way to add productive garden space and raise planting beds,” says Melinda Myers, host of the How to Grow Anything: Food Gardening for Everyone DVD series. “It gives gardeners the opportunity to create interesting raised bed gardens on a patio, lawn or any area with poor compacted soil.”
All that is needed are a few straw bales, fertilizer, a bit of compost and time to condition, plant and water the garden. Myers shared this step-by-step advice for successfully creating a straw bale garden.
Be sure to purchase straw bales made from alfalfa, wheat, oats, rye or other cereal grain that have less weed seeds than hay. Start a few weeks before the designated planting date.
Place the bales in their permanent location with the cut sides up and twine parallel to the ground. Once the condition process is started, the bales will be very heavy and hard to move. When the bales are in place it’s time to start the conditioning process. This is done to start the inside of the straw bales composting, so they’ll support plant growth.
On day one, spread fertilizer over the top of the bale. Use a ½ cup of a complete garden fertilizer or three cups of an organic fertilizer like Milorganite. Then completely moisten the bale. The organic fertilizers feed the microorganisms that help decompose the straw into a nutrient rich planting medium.
Thoroughly soak the bale everyday. On days three and five add more fertilizer at the same rate used on day one.
Days seven through nine use half the rate used on day one. This would be ¼ cup of a complete garden fertilizer or 1 ½ cups of an organic fertilizer. Thoroughly water the bale each time.
On day ten add one cup of 10-10-10 or three cups of an organic fertilizer rich in phosphorous and potassium. This completes the conditioning process.
Bales treated with a complete fertilizer should be ready to plant. Gardeners may need to wait a few more days when using an organic fertilizer. The inside of the bale should be the temperature of warm bath water or cooler for planting. If it is hotter than this, wait for the bale to cool a bit before planting.
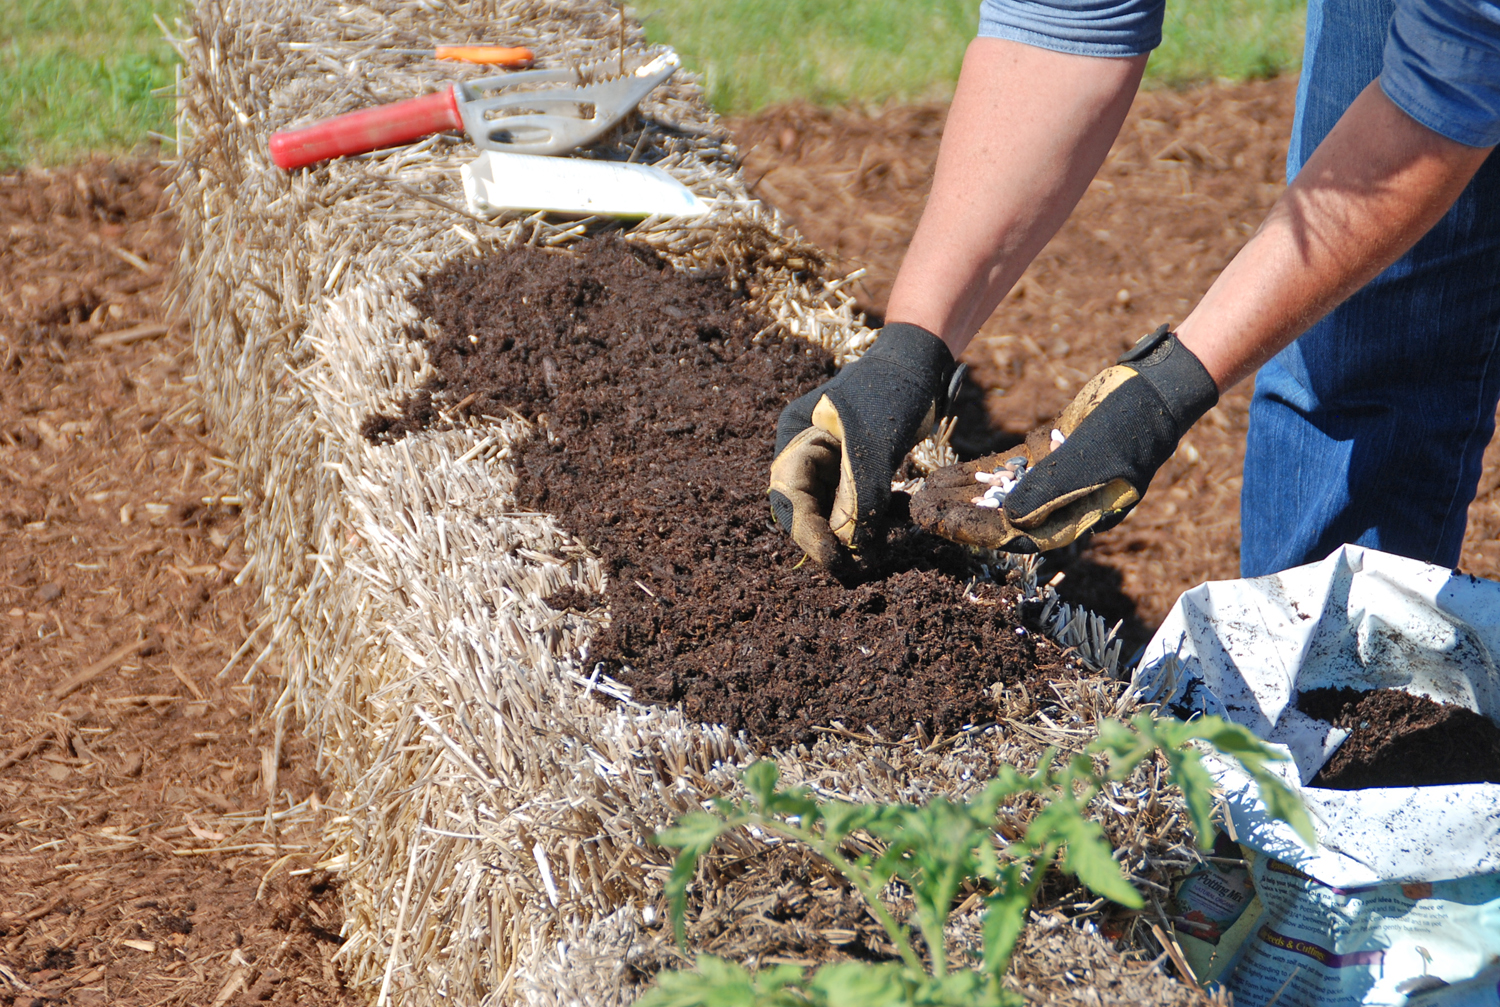
Use a trowel to pry open a hole in the bale. Place the plant in the hole and cover the roots with potting mix or compost.
Create a planting bed for seeds by covering the bale with a one- to two-inch thick layer of planting mix. Follow the planting directions on the back of the seed packet.
Regular watering is critical for success with this method. Soaker hoses or drip irrigation make this an easier task. Or use gallon milk jugs with holes in the bottom or inverted two-liter soda bottles placed near the base of each plant to provide water where it is needed.
Give straw bale gardens a nutrient boost about once a month or as needed throughout the growing season.
Follow these steps to reap the rewards of a productive straw bale garden that can be enjoyed throughout the season.
Diana Paul, Melinda Myers LLC, +1 (414) 771-1888, [email protected]

Share this article